
Physical and Tangible Computing | Duration: 2 weeks
Tangible Computing
Arduino
Art Installation
Team Project
Overview
What did we aim to do?
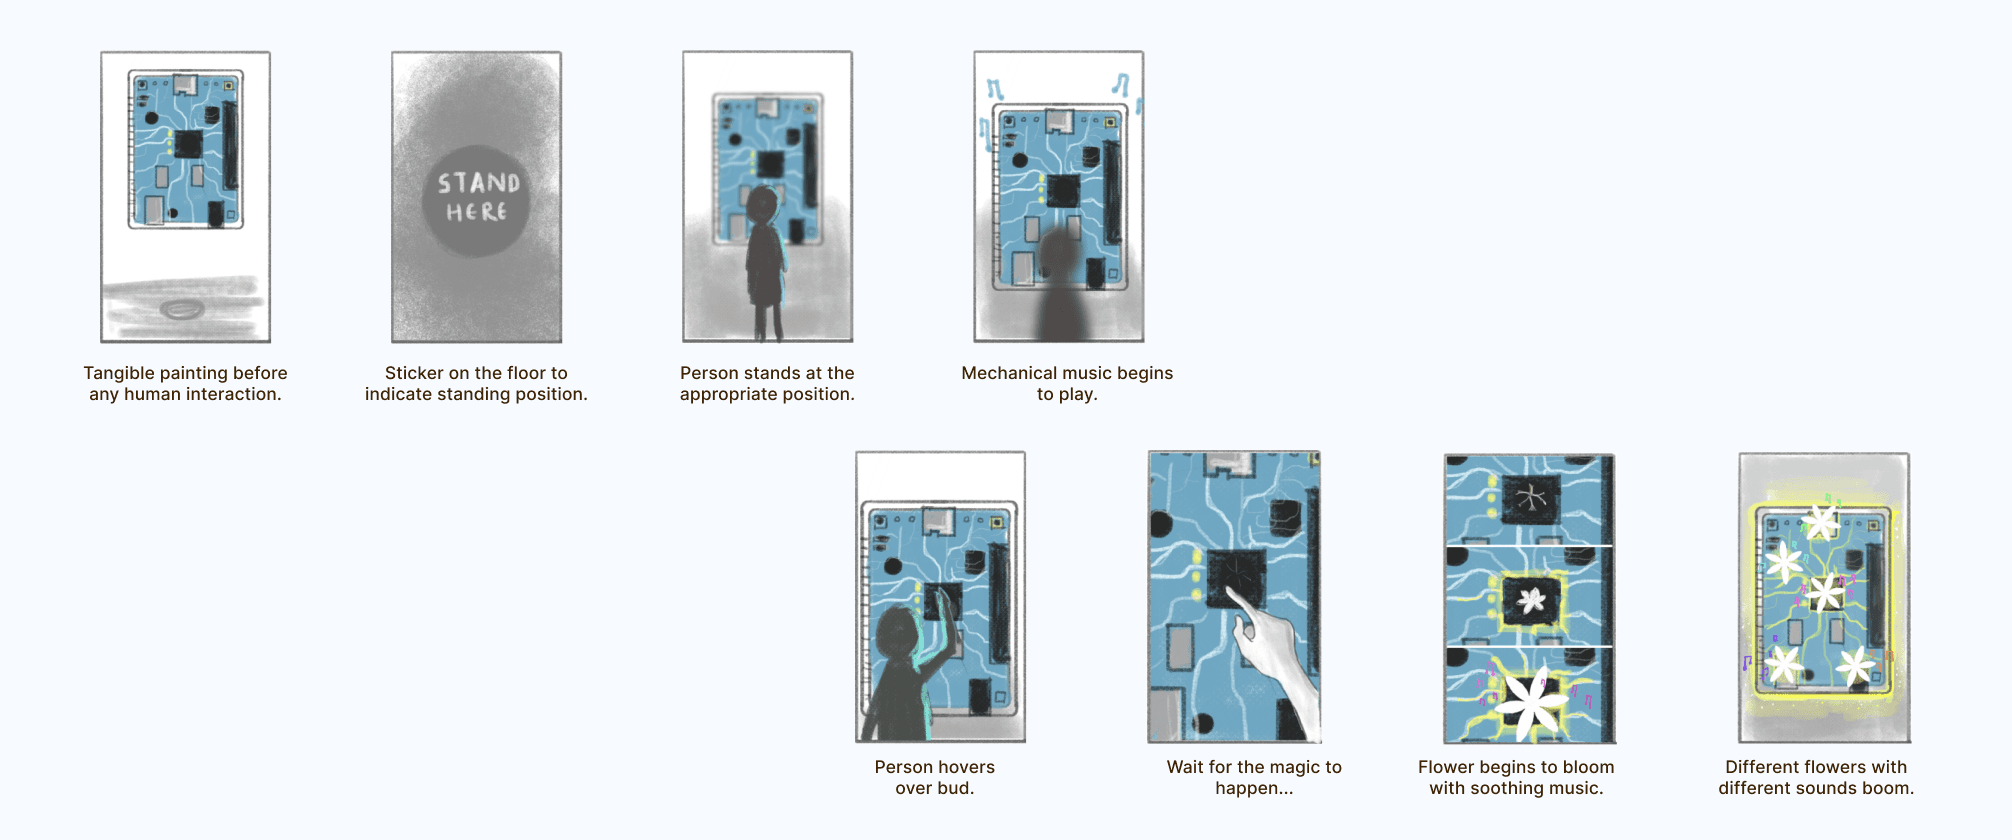
To create an immersive art installation where visitors interact with the tangible painting which looks like a circuit board. When they hover over it, flowers bloom and soothing music plays.
What was the concept?
We explored the theme 'Versus', focusing on 'Nature vs. Tech'. We highlighted how humans connect the two, showing the relationship and balance between nature and technology.
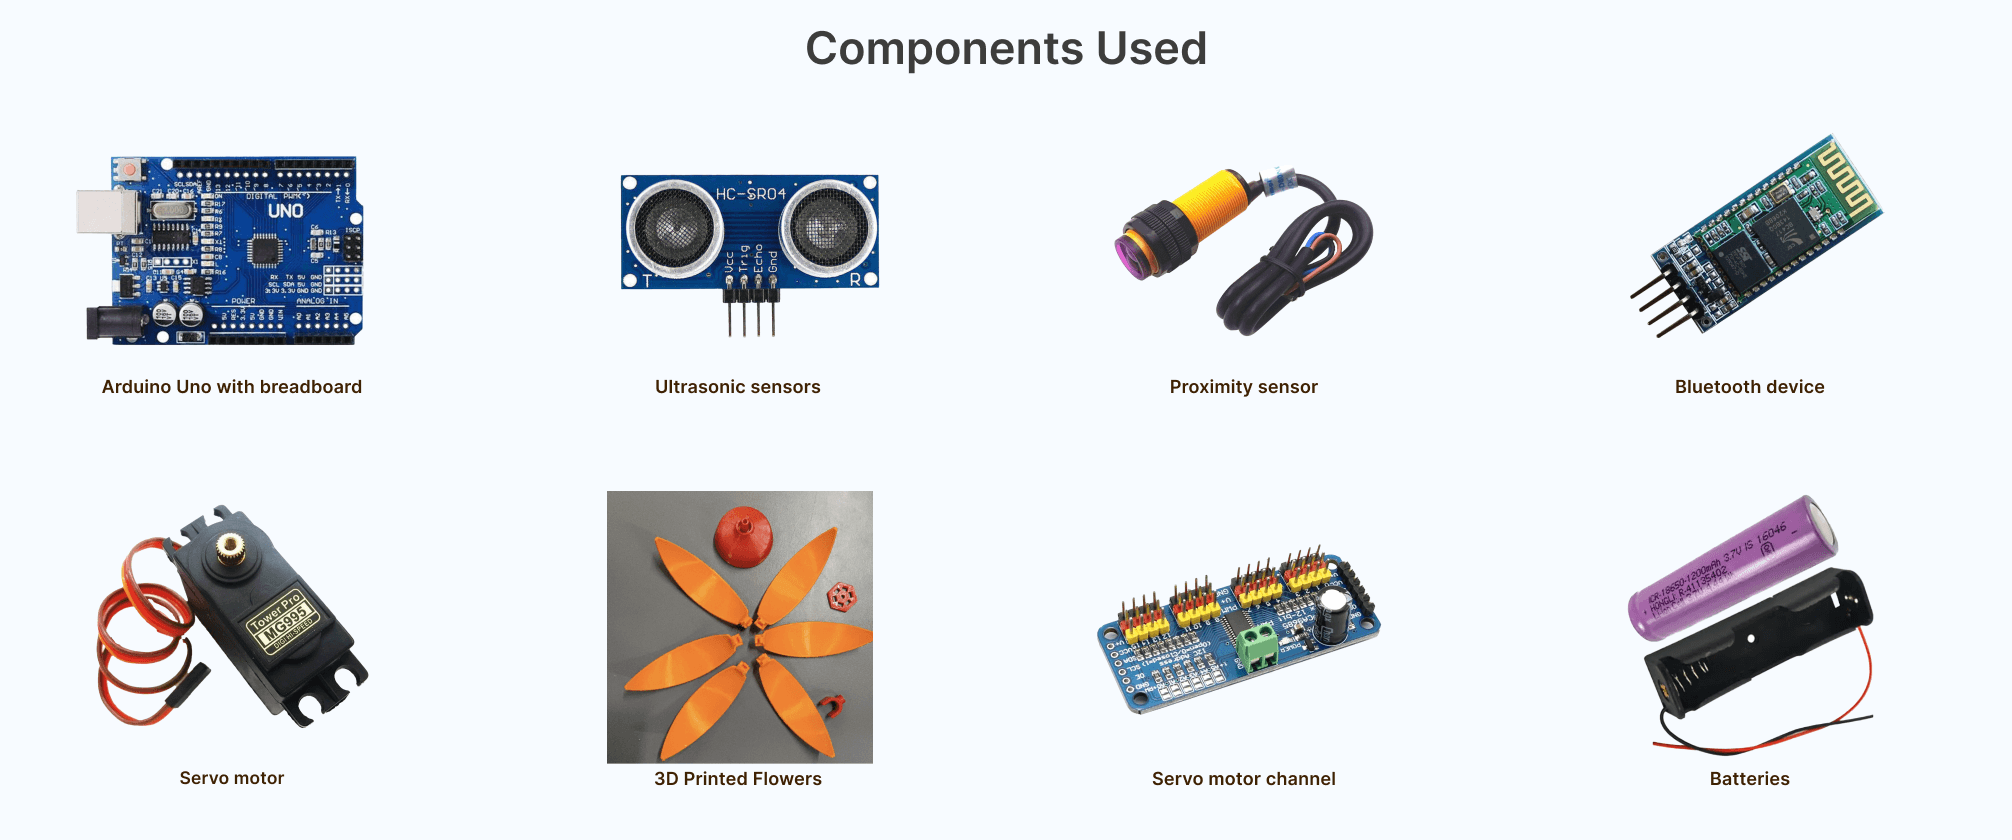
Arduino Uno, 3D printed flowers, servo motors, proximity sensors, ultrasonic sensors, bluetooth device and MIT App Inventor
What did we use?
While learning the basics of Arduino Uno, we developed the storyboard and mood board. We tested different materials, wrote the code, and then created and painted the model.
What process did we follow?
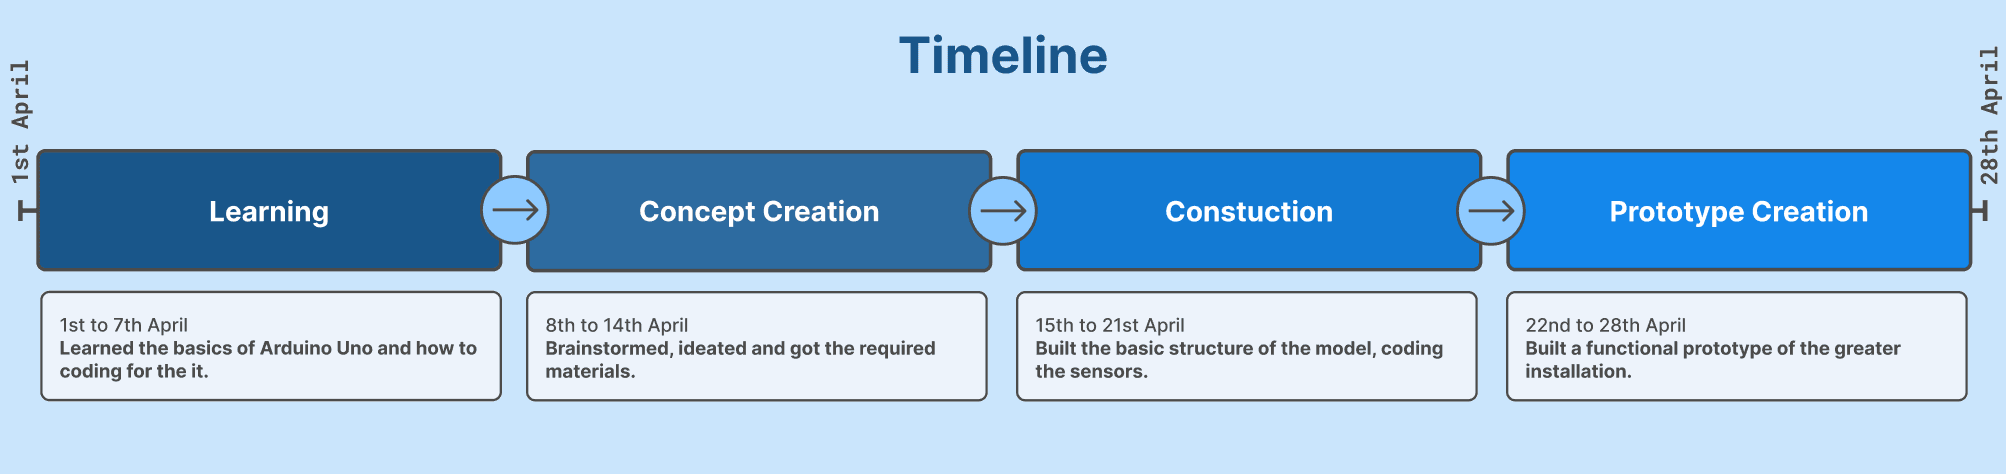
Learning
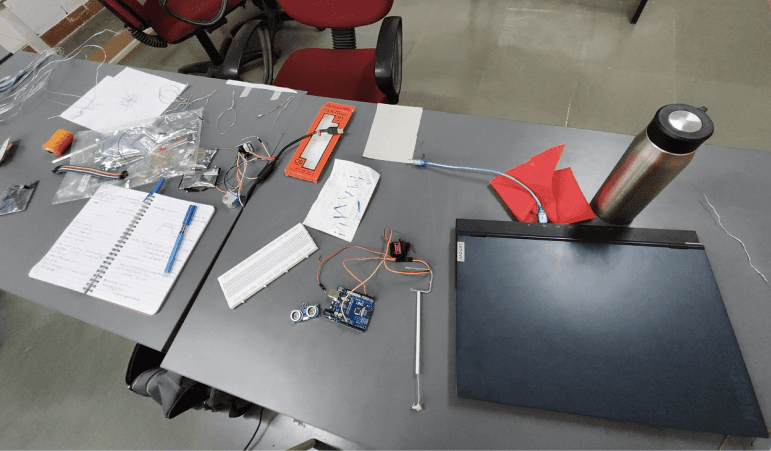
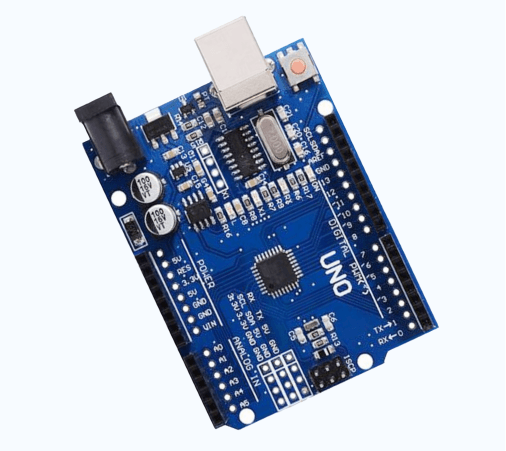
Understanding Arduino Uno
In the first week, we were introduced to the Arduino Uno microcontroller. We started by learning the basics, including how to use LED lights, sensors, and buzzers, and we learned to code for them.
Concept Creation
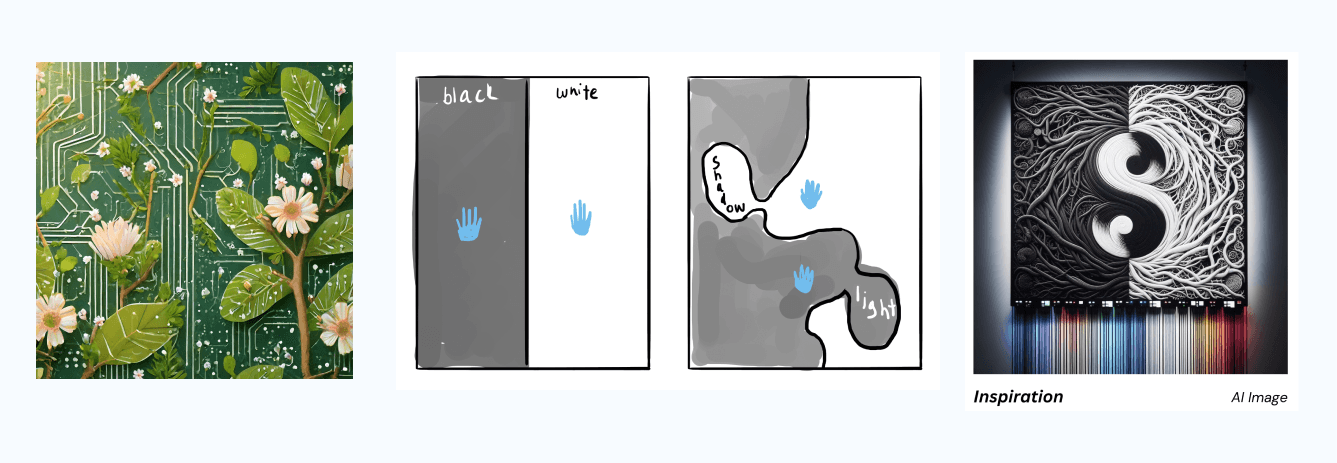
Setting a Theme
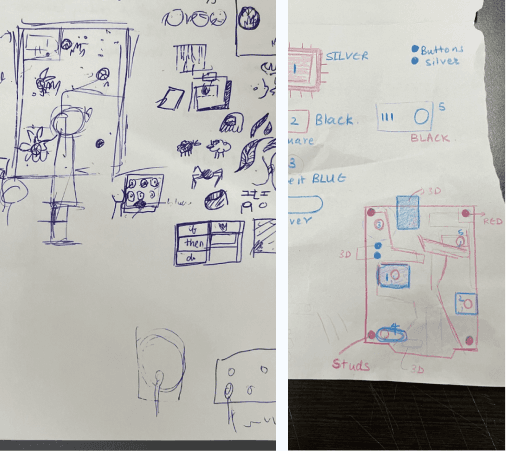
During this time, we developed our concept based on the theme of "versus." After exploring various ideas, we chose to focus on Nature vs. Technology.

Refining the Concept
We brainstormed further on Nature v/s technology, leading us to the idea of a living painting. Our installation shows how humans link nature and technology, and how technology is inspired by nature.
Construction
Components used
Building the model
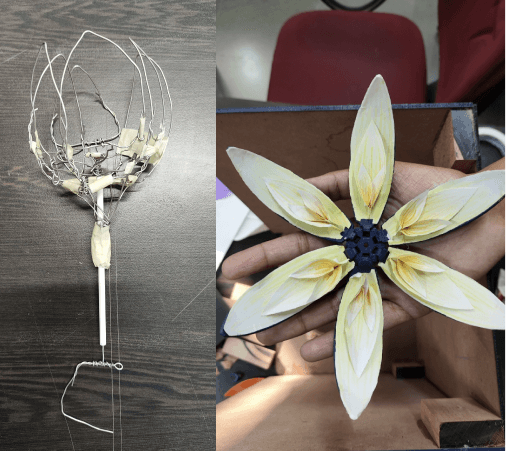
Testing Materials
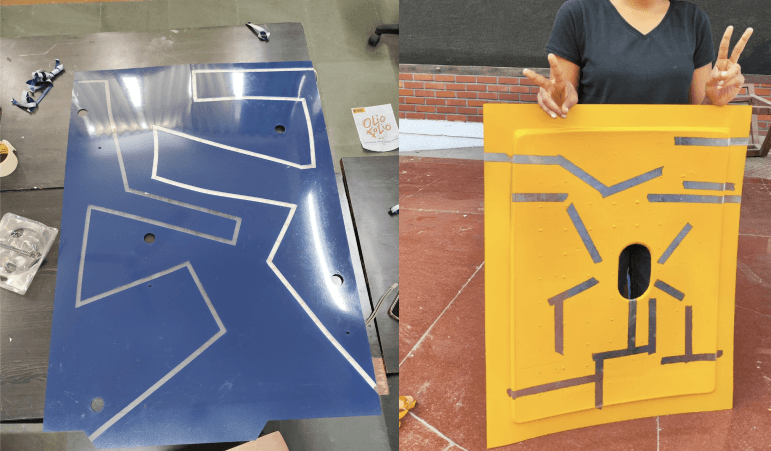
We began by testing different materials to build the tangible painting. We experimented with various types of flowers to make them visually appealing. We decided to create a smaller version to test its functionality since we had about a week to finish it.
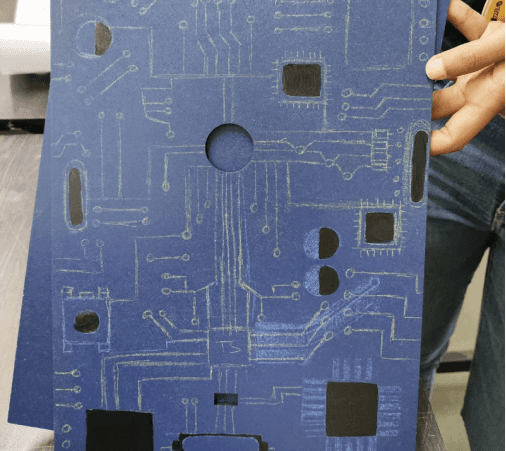

Circuit Board
We chose MDF board for the circuit board, measuring and designing it based on the Arduino Uno. We used a laser cutter to create holes for the flower.
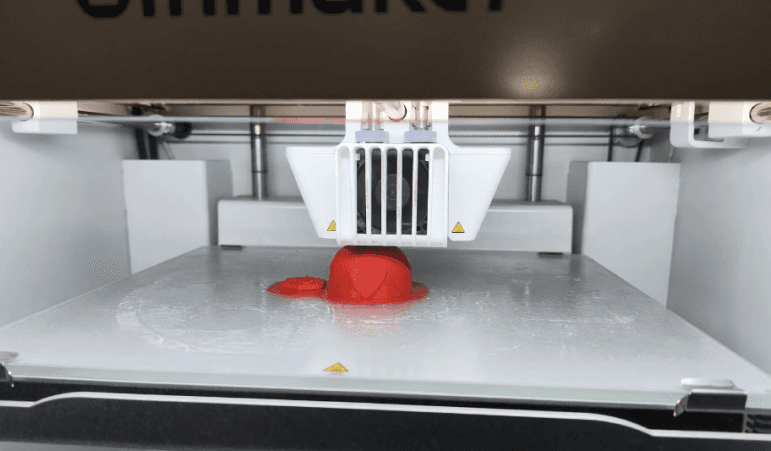
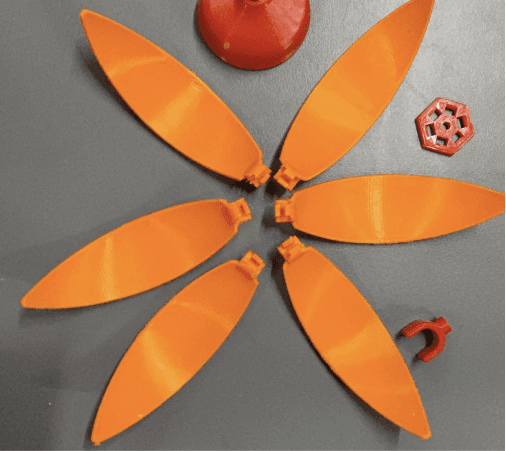
Flower
We decided to 3D print the flowers. We found a design for a mechanical flower that opens and closes and modified it for our needs. After some trial and error, we tested the mechanism until it was functional and ready to use.
Writing the code
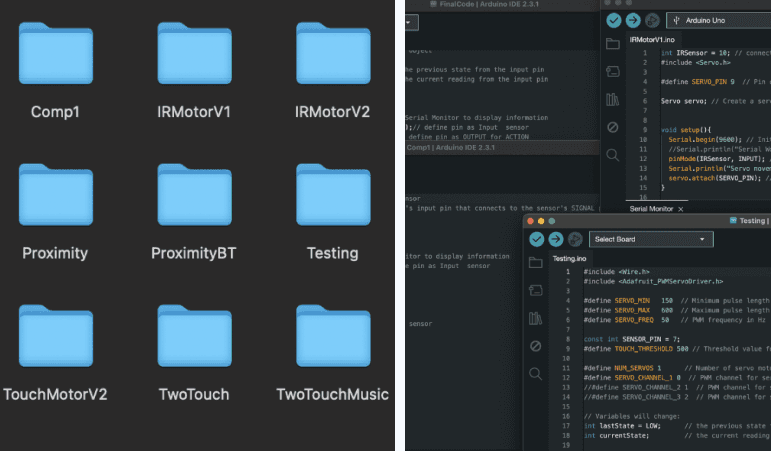
Arduino IDE
We wrote the main code in the Arduino IDE. We wrote the code and tested the code for each component, and one by one combined them.

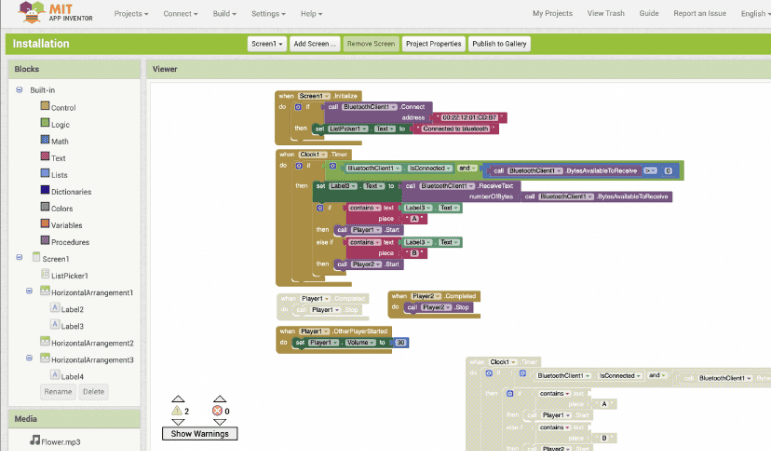
MIT App Inventor
We built an online application using MIT App Inventor that plays sounds for our painting. When the sensor is activated, it sends a signal via the bluetooth component to a phone using the application. The phone then plays music through bluetooth speakers.
Putting it together
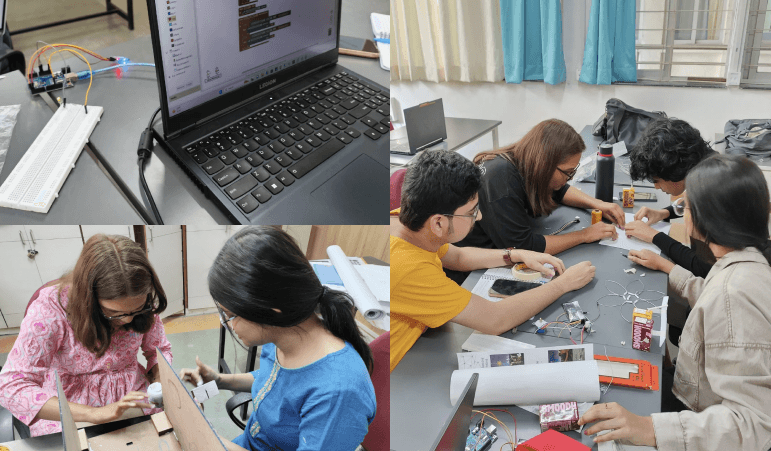
Model, wires and code.
In the final stage, we assembled all the components of the tangible painting. We labeled and connected the wires, and tested each part individually before putting everything together. We checked the flower mechanics and ran the code, conducting multiple tests to ensure everything worked properly.
Prototype Creation